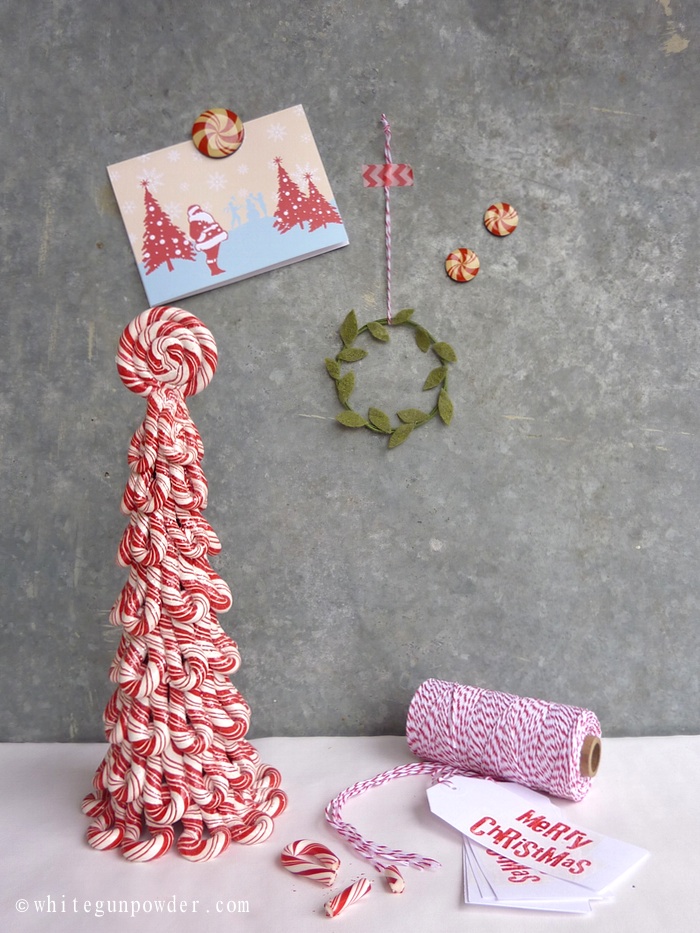
These simple felt wreaths came about because of my two bare walls in the house that needed some Christmas decorations. In less than an hour I was able to make two large felt wreaths from the supplies I have on hand. The mini felt wreath is even easier to make. Hang it on the Christmas tree or attach it to a package.
.
I like the idea of hanging a wreath in front of a picture frame or a bulletin board.
. . . . . . . . . . . . . . .
Tutorial for Felt Wreaths
Supplies
• double ring wreath forms {12″ diameter}
• felt sheets, assorted colors {9″ x 12″}
• ribbons and twine
• glue gun & glue sticks
• scissors
• simple leaf templates, print Here {approximately 2 1/2″ long by 1 1/4″ in width}
for mini felt wreath • green cloth covered stem wire 18 gauge {18 inches long}
• strong paper tube {2 1/4″ diameter} or something similar, to use as a tool to wrap and shape the wire into a circle – mine came from an empty ribbon paper tube
Mini Felt Wreath
Choose a felt color to be wrapped around the wire frame. Cut long one-inch wide strips from the felt sheet. There should be 9 strips total. Take one felt strip and dab a pea-size hot glue near the beginning of the felt and quickly wrap the strip once around the wire frame to secure it. Once the felt strip is attached, start wrapping it around the frame. Glue down the end of the strip and repeat the steps again until the wire frame is completely covered. It will take 7-9 felt strips.
Arrange the cut leaf pieces around the frame, but do not hot glue them down until you are satisfied with how they look on the wreath..
The finished felt wreath.
Mini Felt Wreath
step 1 & 2
Take the 18″ wire and wrap it around the paper tube.
step 3
Take the circular wire shape of the tube and twist it around itself 3-4 times to secure the circular wire shape.
step 4
arrange mini leaf shapes around the wire circle and hot glue them to the wire.
Cranberry relish is not just for Thanksgiving dinner in our family. My two daughters will take a bowl like this one and eat all of it up {I will too}. This recipe is full of “Stuff”; the combination of sweet/tart and soft/chunky in every bite. It’s a great side dish with turkey or warm it up and spoon it over chicken or pork. This cranberry relish with pear and orange is a twist on the classic cranberry sauce.
1 1/2 cups sugar
1/2 cup fresh orange juice
3-4 oranges, segmented {without pith and membranes}
2 Bartlett pears {firm and slightly green}, peeled and cubed to bite size
1 pound fresh cranberries {one 12 oz bag of cranberries will work fine}
1/2 cup water
zest of one orange
{makes 4 cups}
. . . . . . . . . . . . . . . .
Tips & How to’s
Orange Zest
Use a microplane to grate the thin outer layer of an orange, careful not to scrape the white bitter part of the rind.
.
Segmented Oranges
steps 1 & 2
Cut the top and bottom of the orange to expose the inner flesh. Set it down on one end and with a knife start from the top, cut the rind downwards just inside the pith. Repeat this procedure all the way around the orange until the flesh is completely exposed.
step 3
Hold orange over a bowl, slice the knife into the orange along the membranes to separate the segments. Continue around the orange and place each segment into the bowl below.
step 4
After all the segments are removed, squeeze the orange to extract the last bit of the juice.
.
. . . . . . . . . . . . . . . .
Cooking Instructions
1. Combine sugar, orange juice, water and cranberries in a medium saucepan. Cook over medium heat until the berries pop open {about 10-15 minutes}.
2. Add pears and cook for 5 minutes.
3. Turn heat off and add orange zest and segments and stir.
4. Start the canning process or let it cool to room temperature and refrigerate.
The canning process can be done with equipment you probably already have, but the one canning tool I recommend as a must have is a jar lifter. It makes the process much easier and safer when transfering a jar in and out of the hot water without it slipping.
1. Sanitize canning jars and keep them warm. Prepare the lids according to the package directions.
2. Fill a large pot with water enough to cover the jars by 1 inch. Heat the water up to a broil {not roaring boil}
3. Ladle the relish into warm jars, leaving approximately 1/2 inch of space at the top.
4. Wipe the rim of the jar with a clean, damp paper towel.
5. Place the lid and ring on the jar. Hand-tighten the canning ring.
6. Place a rack for the jars to stand on in the pot {the jars should not be touching the bottom of the pot}
7. Place the jars into the hot water bath making sure they are not touching each other or the bottom of the pot. Add more water if needed to cover the jars by 1 inch.
8 Process the jars for 15 minutes, keeping the water at a gentle boil for the entire time.
9. Remove the jars from the water and allow them to sit undisturbed for 24 hours. As the jars cool down, a popping sound will occur from the lid as an indicator of a good seal.
. . . . . . . . . . . . . . . .
.
Packaging Supplies • brown paper / paper bags • rubber bands • white crinkled shredded paper/grass
• cello bags {5″x3″x11″} • ribbon • double-sided tape • cardboard pieces {2 1/2″ x 4″} • white café au lait bowls, 8 oz capacity {BIA Cordon Bleu or Apilco} • labels {print Here} • template for the jar cover {print Here}
Instructions
Use the template provided Here and trace out the jar lid cover on brown paper/paper bag. Stick a piece of double sided tape to the top of the jar lid at the center and attach a brown paper circle cutout. Stick another piece of double sided tape on top of the paper cover and attach a label {print Here}. Fold the edges of the paper and label down and over the sides of the lid. Stretch a rubber band around the sides of the lid to secure the paper cover and label in place.
.
.
Gift Wrapping
The last few steps to wrap the gift. Place a piece of cardboard inside the cello bag for the bowl to stand on. Add crinkled paper grass inside the bowl then a jar of cranberry relish. Tie the cello bag with a ribbon and that is it.
Instead of a jar of cranberry relish, substituting it with jam, cookies or pastries will be just as wonderful to give this Christmas.
The advent calendar starts today!! It’s not too late to put one together. This was my project this morning using white paper, twine and labels. What’s inside these gifts is up to you. To add a little sparkle to the jar, I filled it with styrofoam glitter balls between the layers.
I was a little surprised to see some retail stores decorating for Christmas in October {just a bit too early for me}. Now that December is upon us, I am ready to move forward and into the Christmas season. The first thing our family decided to do after Thanksgiving was to go and get our Noble Fir Christmas tree. It’s now in our house with lights and decorated with ornaments. Our house will be in the decorating and cleaning stage for awhile longer. Here’s a little glimps of what’s going on.
.
I always look forward to opening the Christmas bins and rediscovering all the things again. To see my kids find excitement and talk about what they uncovered was great to be a part of. The picture of the pine tree and a bible verse, “For unto us a Child is born” was a printable I created last year for a blog post, Christmas quotes. I reduced the size of the image to fit the matte and frame for the display. {to print, click HERE}.
One of my favorite methods to wrap presents is by layering the gifts and using clear cello wrap to tie all of it together. The cello adds a little sparkle to the gift and gives a sneak peek of what’s inside.
.
The morning temperatures have been low and cold enough to put a blanket of frost outside. These beautiful little berries looked quite delicate with a layer of frost on them.
.
Homemade cranberry relish with pear & orange is a favorite of our family. This year I decided to preserve the relish and give it as gifts for Christmas. The packaging was easy and fast using what I already have around the house {brown lunch bags, rubber bands, double sided tape and labels printed from the computer}. continue reading…
.
A fun and whimsical display of a tinsel Christmas tree against black paper {or chalkboard}.
It’s wonderful to see on Pinterest, Facebook, Tumblr, and other websites of what people are thankful for. Somedays are harder than others, but like one quote I’ve seen again and again, “There is Always something to be Thankful for.” So true. This is my November inspiration board with pictures, quotes and found objects that I’ve gathered together to remind me of the wonderful things in my life.
Have fun using these printables of thankful thoughts, quotes and Bible verses. Post them on a bulletin board/ refrigerator, hang it on the wall or attach the little tags onto packages.
I find myself here at my desk almost everyday filing things, updating the family calendar, or sorting through mail. And every now and then I will glance up at the bulletin board and be reminded of what I am thankful for.
.
I am thankful for my loving, unchanging mighty God, my Counselor, and above all He is my heavenly Father.


